Green Tower / Invisible-symbol lens7 min readinvisible symbols

BIG WALK Invisible Symbols: Map All 9 Lens Pieces

Keep the nine blank-looking pieces in a fixed 1-9 layout, reveal each symbol through the spyglass, then rebuild the current five-symbol target without losing a tile.

Direct solution

Find the blue circular building around 3740, 2140, northwest of the coastal crane. Put one player at the fixed spyglass/lens and one beside the nine loose, blank-looking pieces. Before moving anything, number the physical piece positions 1-9 from left to right. Present one piece at a time through the viewing line; the lens player records the revealed symbol beside that physical number, and the handler returns it to the same numbered position. Read the current five-symbol target from left to right, look up the five matching piece numbers, and place those pieces in the answer slots in that exact order. Submit once. If it fails, leave the remaining pieces indexed and re-check only the mismatched target position instead of shuffling the set. Confetti and the released red control-panel piece confirm success.

Where to go

Travel to approximately 3740, 2140. Look for the blue circular puzzle building northwest of the tall coastal crane and southeast of Blue Tower. The correct interior has a fixed viewing window/spyglass line, a five-symbol target, and nine loose symbol pieces that appear unhelpful until viewed from the correct side.
Before touching a piece

  • Bring at least two players: one lens reader and one piece handler. Extra players should record or verify, not move pieces at random.
  • Choose one physical direction for numbering the loose pieces 1-9 and point out positions 1 and 9 together.
  • Write a nine-line index such as “1=?, 2=?, …, 9=?” plus five target slots T1-T5.
  • Keep the center opening and doorways clear; do not kick or throw a piece where it can leave the indexed work area.

Exact steps

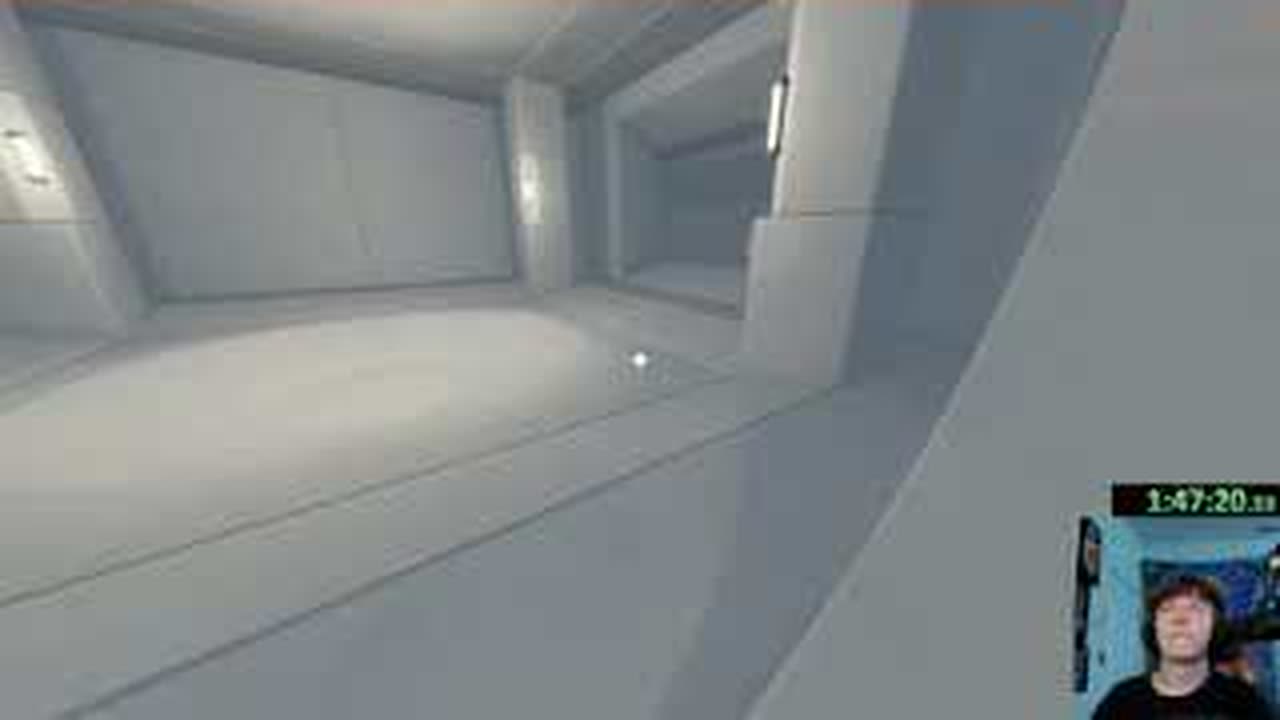
  1. Interior entrance of the BIG WALK invisible-symbol lens building near 3740 2140
    Source time 01:46:57Temporary frame
    1

    Find the blue lens building near the coastal crane

    Go to about 3740, 2140 and enter the blue circular building. Confirm that one side can inspect patterns through a fixed viewing line while the work side has nine loose pieces and a five-position answer area.

    You can see the viewing window, the current target display, and the loose piece set inside the same puzzle building.

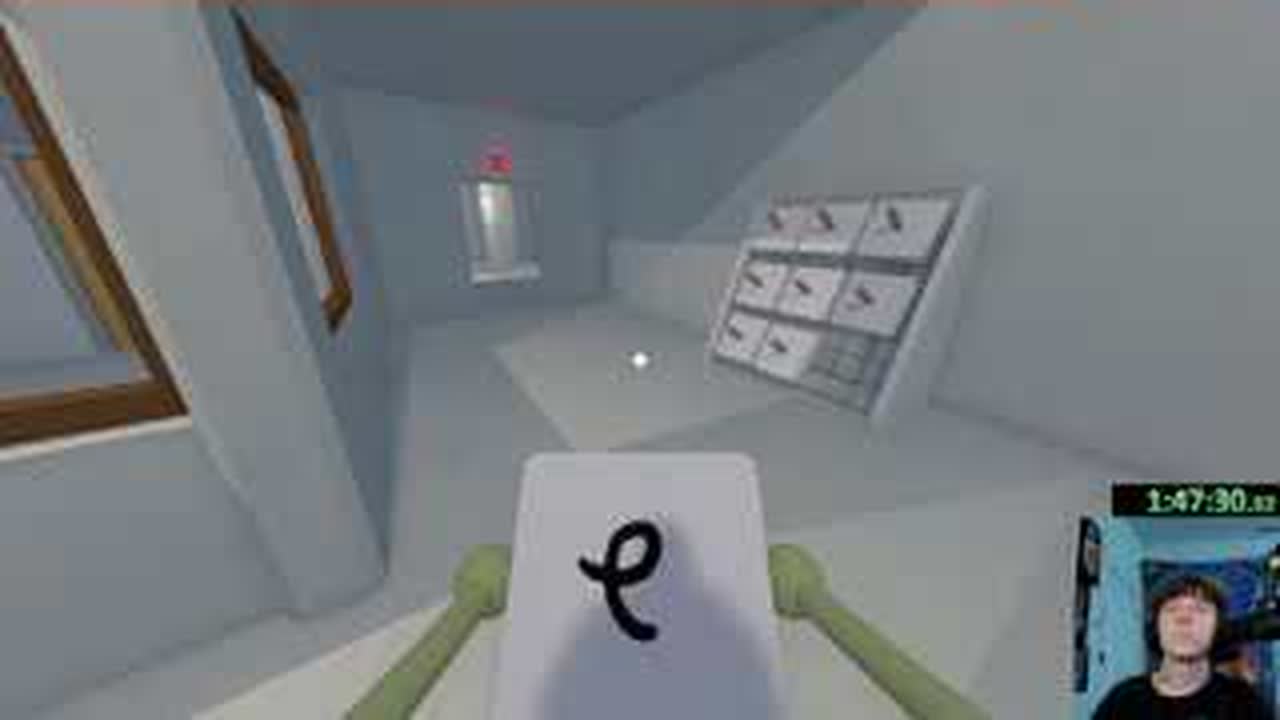
  2. Two players separated by the viewing window in the BIG WALK invisible-symbol puzzle
    Source time 01:47:07Temporary frame
    2

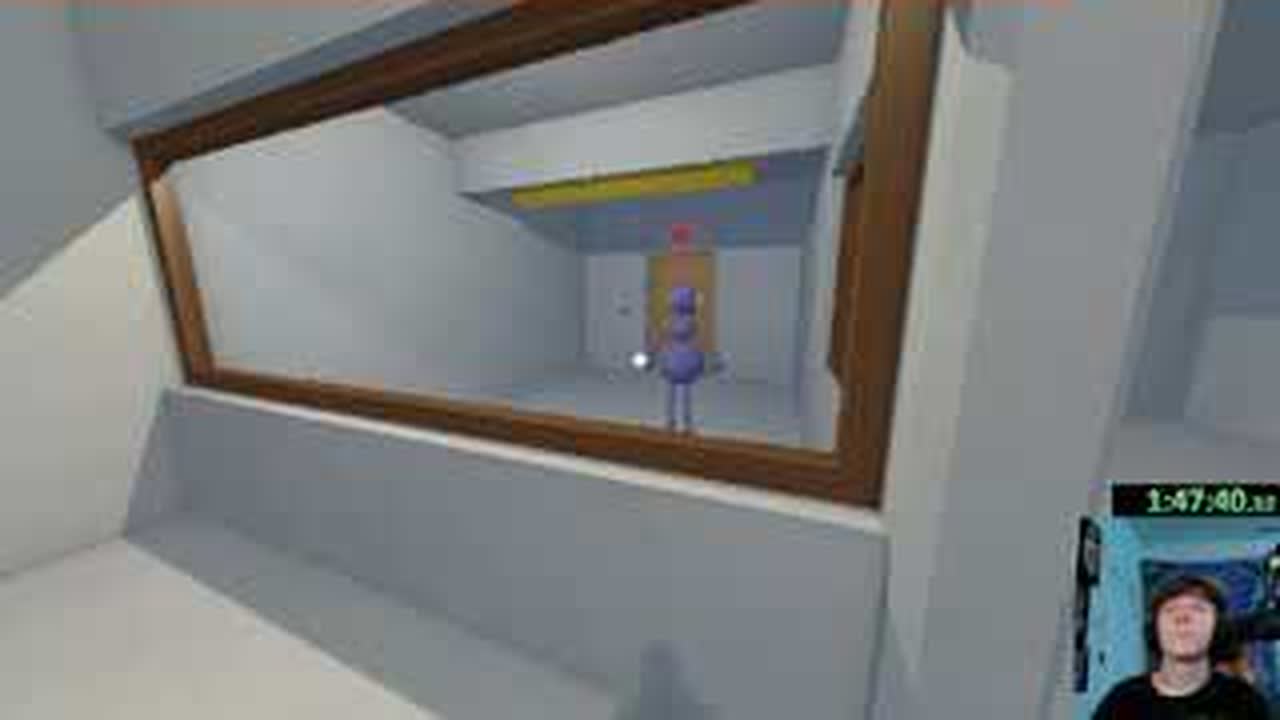
    Assign one reader and one piece handler

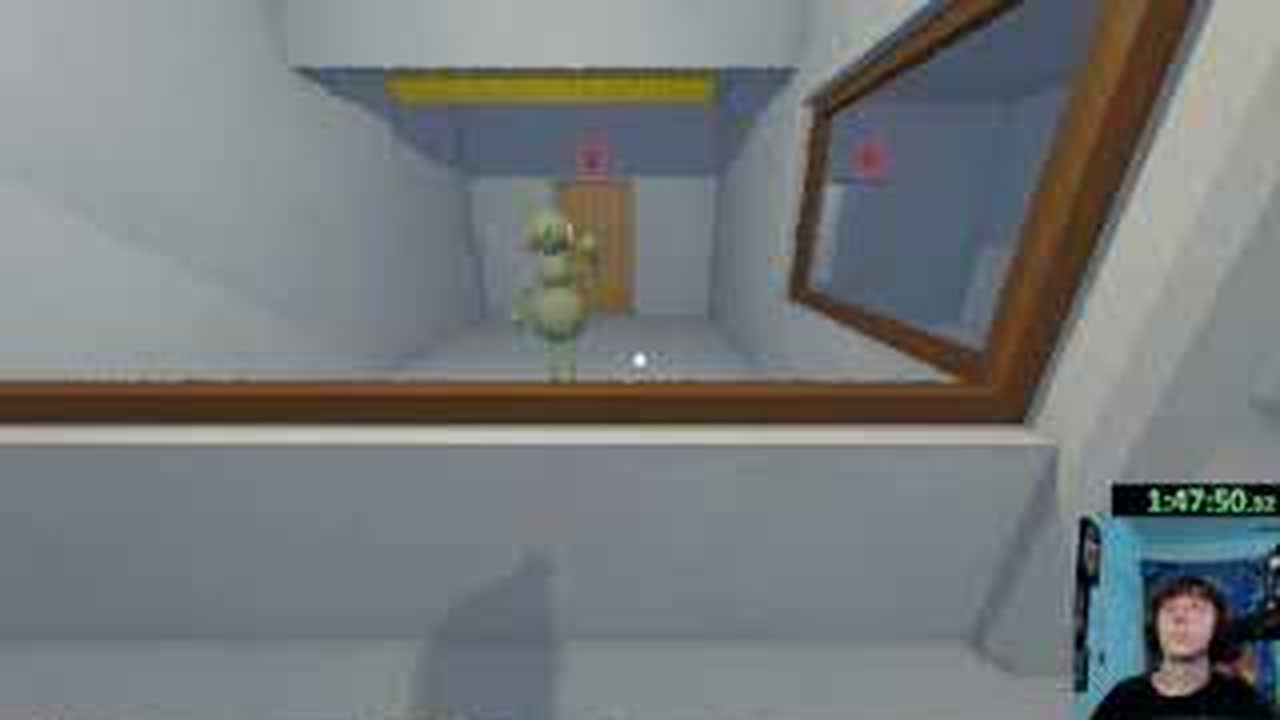
    Keep the lens reader on the viewing side and the handler with the loose pieces. The reader owns symbol recognition and the written index; only the handler moves a piece or fills an answer slot.

    Both players can see each other through the window and know who calls symbols and who moves tiles.

  3. Nine physical pieces kept in a stable numbered layout for the BIG WALK lens puzzle
    Source time 01:47:17Temporary frame
    3

    Freeze the layout and number all nine pieces

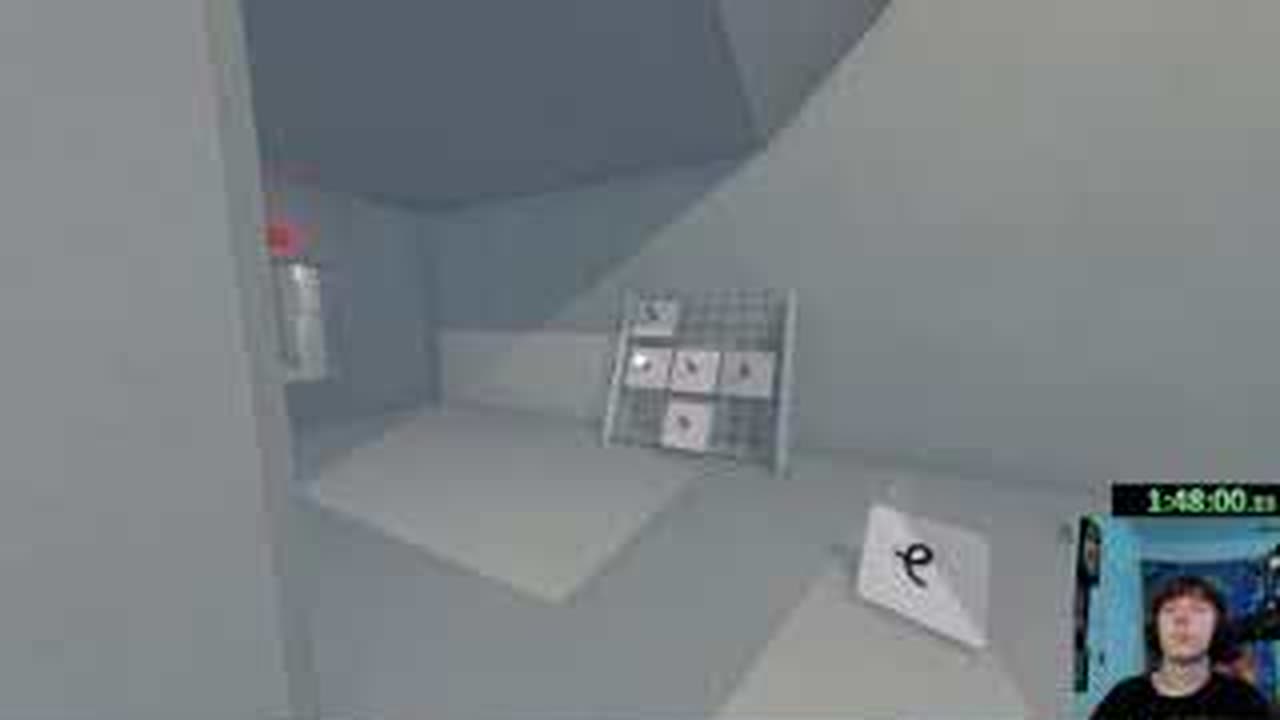
    Before lifting the first piece, number the physical positions 1-9 in one agreed direction. Say which piece is 1 and which is 9. After every inspection, return the piece to that same position until the final sequence is known.

    The handler can point to any requested number immediately, and no two pieces share a position.

  4. Current five-symbol target board inside the BIG WALK invisible-symbol lens room
    Source time 01:47:27Temporary frame
    4

    Copy the current five-symbol target left to right

    Activate or inspect the current target and write its five positions as T1-T5 from left to right. Describe each shape with a short unique nickname, but do not copy a screenshot answer from another world because the target can change.

    The reader has five ordered target nicknames and can point to T1 and T5 without reversing them.

  5. A hidden symbol revealed on a held piece through the BIG WALK fixed viewing lens
    Source time 01:47:37Temporary frame
    5

    Reveal and record pieces 1 through 9

    The handler presents piece 1 in the viewing line. The lens reader identifies the revealed symbol and writes it beside 1, then signals yes so the handler returns it. Repeat through piece 9. A fast team may flag only target matches, but a complete 1-9 map is safer for recovery.

    Every physical number has one recorded symbol or a verified “not in target” mark, and all unselected pieces are back in place.

  6. Viewer control used while matching the BIG WALK five-symbol target to numbered pieces
    Source time 01:47:47Temporary frame
    6

    Translate T1-T5 into five piece numbers

    Match each target nickname to the 1-9 map and write the resulting number sequence in target order. Read it back once as “T1 equals piece N” through “T5 equals piece N.” Do not start placing until all five mappings are explicit.

    The team has exactly five piece numbers in left-to-right target order, with no guessed or duplicated match.

  7. Five matched invisible-symbol pieces placed in order before submission in BIG WALK
    Source time 01:47:57Temporary frame
    7

    Place the five matched pieces and submit once

    The handler retrieves the recorded pieces and fills the answer slots from left to right. Keep unused pieces in their numbered positions. Re-read the number sequence against the filled row, then press the submit control once and wait for the check.

    All five answer slots are filled in T1-T5 order and the unused set remains organized for a retry.

  8. Confetti and released reward after the BIG WALK invisible-symbol sequence is correct
    Source time 01:48:07Temporary frame
    8

    Confirm success or isolate one bad mapping

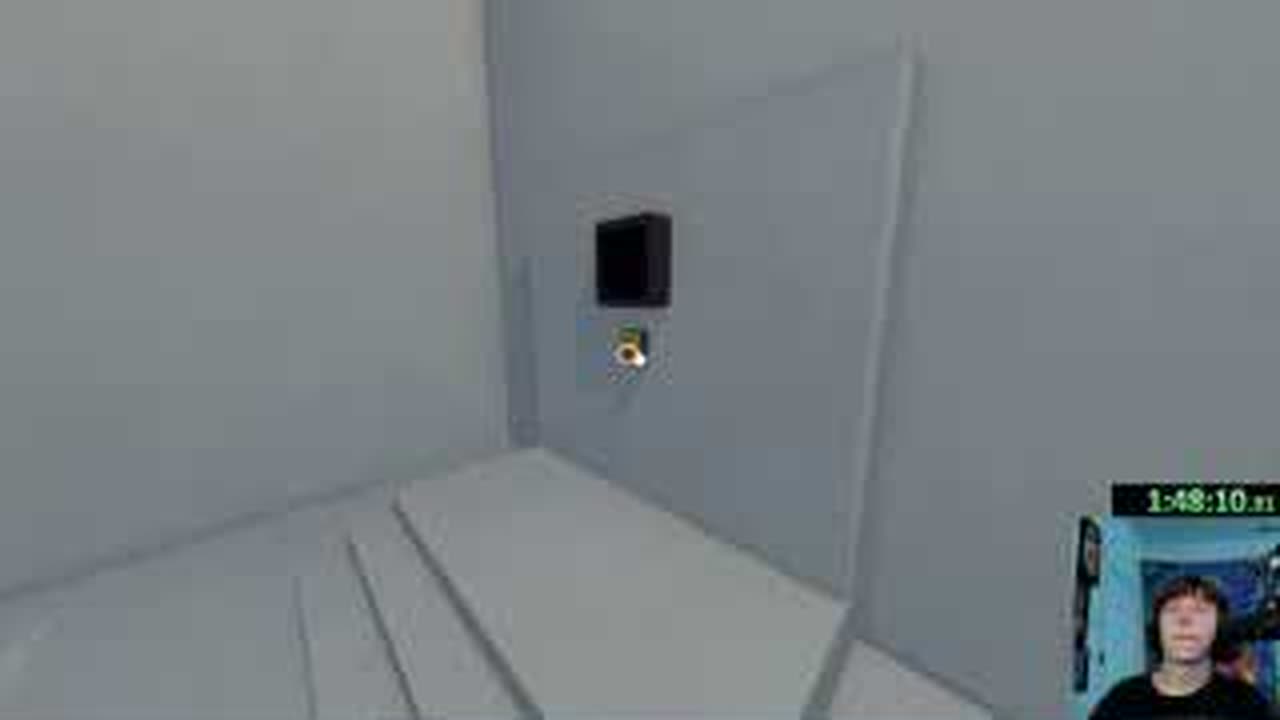
    On success, collect the released red Green Tower control-panel piece. If nothing releases, do not scatter the nine-piece map: compare T1-T5 to the filled row, remove only the uncertain position, reveal that numbered piece again, and resubmit after the correction.

    Confetti appears and the reward releases, or the team has one named target position to re-check without restarting the full search.

Player-count plan

2 players

Use one fixed lens reader/recorder and one handler. The handler always returns inspected pieces before taking the next number.

3-12 players

Keep the same two owners. One extra player may write the 1-9 map and another may verify T1-T5, but everyone else keeps hands off the indexed pieces.

Common mistakes

  • Picking up several blank-looking pieces before assigning physical numbers, then losing their identities.
  • Numbering the set from opposite directions on the two sides of the window.
  • Reading the five-symbol target right to left or placing matches in discovery order.
  • Assuming a target sequence from another session is a fixed solution.
  • Submitting after only four verified matches or repeatedly pressing the control while pieces are still moving.

How to recover

  1. 1.If one piece was dropped, freeze every other piece, search the last numbered work position and doorway, then reveal the recovered piece again before returning it.
  2. 2.If every answer seems wrong, compare the physical endpoints 1 and 9; the index was probably reversed.
  3. 3.If only one slot is wrong, preserve the other four and re-check that target position plus its mapped physical number.
  4. 4.If two symbols look alike, use a second nickname that records orientation, such as “hook opens left” rather than only “hook.”
  5. 5.If submission gives no feedback, verify that all five slots are occupied, then press once after the pieces stop moving.

Related puzzle guides